How to Properly Hit the Nail on the Head
Live link — How to Properly Hit the Nail on the Head
Lumber industry trade association article
by Martha Retallick, WIR Contributor
Want to do great work with Southern Yellow Pine? A hammer will be an essential part of your toolkit. In this post, you’ll learn the fine art of hitting the nail right on the head.
While the concept of hitting a nail with a hammer seems so simple, it’s one of the basic fundamentals you’ll need to know before embarking on your project.
Before we begin, let’s just say that the Internet is full of videos on how to hit a nail with a hammer. Here’s one (with some righteous background music) that explains different types of nails as well as technique.
Hammering 101
You’ve probably seen those veteran carpenters who can set a nail with one firm tap, then whack! Bang! Nail’s all the way in and flush with the wood!
With practice, you’ll get there too. Here’s how:
Pick the right hammer for the job.
If you’re working with Southern Yellow Pine, you’ll need a hammer that’s meant for wood. In most cases, that would be a claw hammer. The weight range? Between 20 and 32 ounces. And, yes, it’s true. Big, beefy people use heavier hammers. So, make your purchase plans accordingly.
Be aware of your surroundings.
Look around and be sure that no one is in the way before you start pounding those nails. Check your hammer. If the handle is loose, splintered, or cracked, the head could fly off and injure you or someone else. Find another hammer and use it instead.
Set the nail before pounding it home.
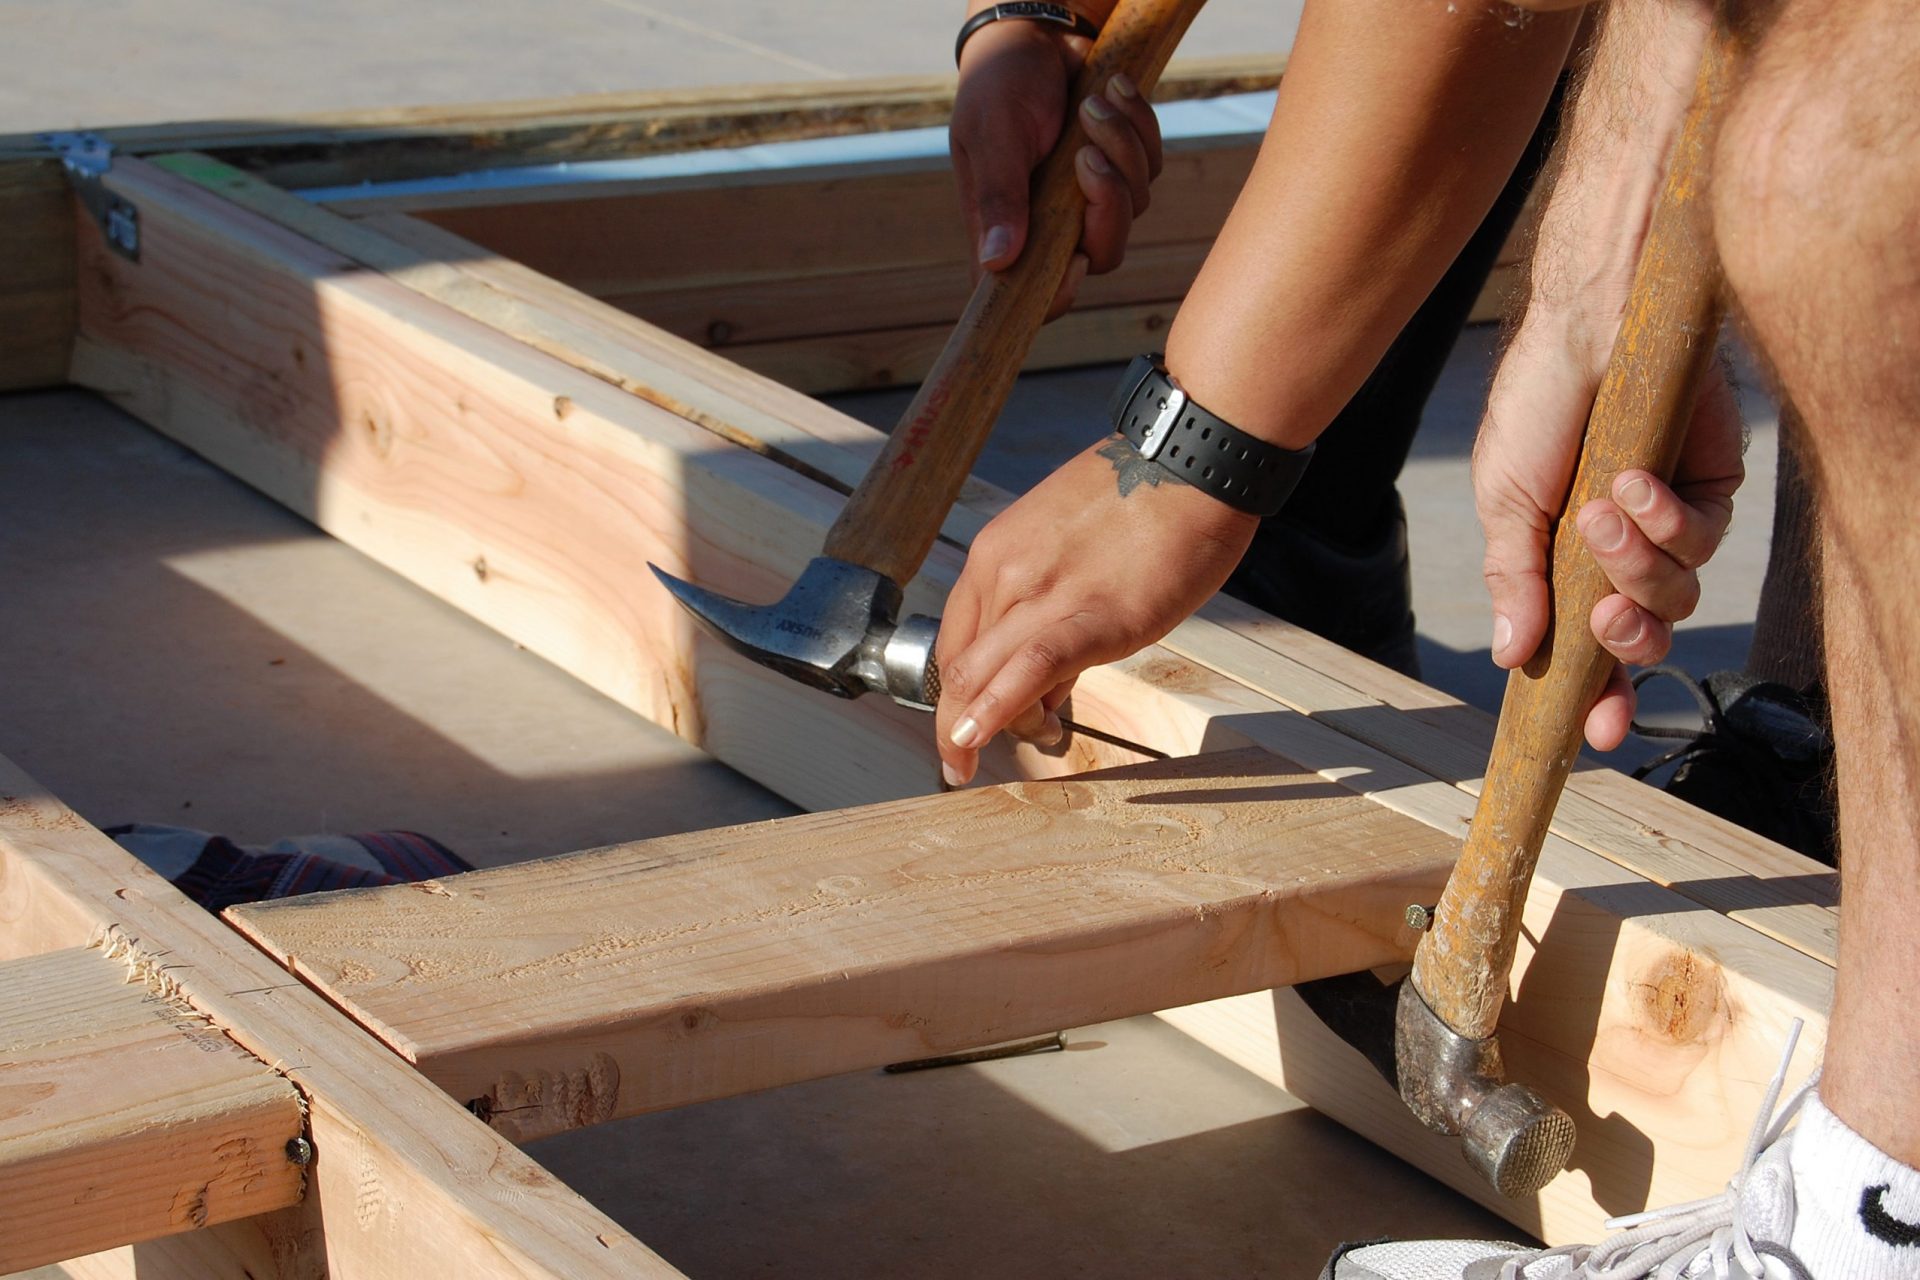
With the thumb and forefinger of your non-dominant hand, hold the nail near its head. This lessens the chance of your digits getting squashed by the hammer. Next, grip the hammer in the middle of the handle and give the nail one or two light taps, just enough so that the nail can stand on its own.
Let the hammer do the work.
So, you’ve set that nail. Here comes the fun part! Grip the hammer toward the end of the handle, bend your elbow to raise it, and let it fall toward the nail. Keep your eye on where you want that hammer to go – right smack-dab in the center of the nail head! You might need to practice on some scrap lumber before working on an actual project. That’s okay – you’re learning a valuable skill that you can use forever. And you’ll be pleasantly surprised by how quickly you improve!
So, are you ready to start hammering? We’re looking forward to hearing about your projects!
